Driver Mapping Tool Tutorial
Purpose of the Tool
The Device Driver Mapping tool facilitates limited testing of your device against an inventory of existing drivers. The test results can be sent to Adtran in the form of a temporary device class configuration, providing Adtran interoperability engineers with the data required to develop the custom device class configuration or drivers for your device to interface with Device Manager.
If the CWMP management client is implemented according to the TR-‐098 standard, the Device Manager standard drivers should provide some or all of the functionality to support your new, uncertified device. Existing drivers for other devices can also provide some or all functionality required to support your new, uncertified device if it does not closely follow the standards assumed by existing drivers.
System Requirements
The Device Driver Mapping tool is included in Mosaic Device Manager v5.1.1 and later. Depending on your access privileges and how your Device Manager instance was deployed, this tool may or may not be assessable.
Intended audience
The procedure for mapping drivers to a device requires knowledge beyond the scope of this tutorial. An understanding of the application as well as the requirements and behavior of each driver is necessary. The primary audience for this tutorial is internal Adtran personnel responsible for interoperability testing and driver creation.
Steps for Testing
Preparing your Device
- If necessary, contact Adtran Support or contact your Adtran Sales Engineer for access to the Device Driver Mapping tool. It is recommended that driver mapping/development be performed on a test instance of the Device Manager platform.
- Add the URL of the test instance and the following ACS parameters to the device to be tested:
ACS URL: http://YourTestInstance.smartrg.com/ACS Username: <blank>
ACS Password: <blank>
Connection Request Username: <blank>
Connection Request Password: <blank>
Periodic Inform: enable
Inform Interval: 180 seconds
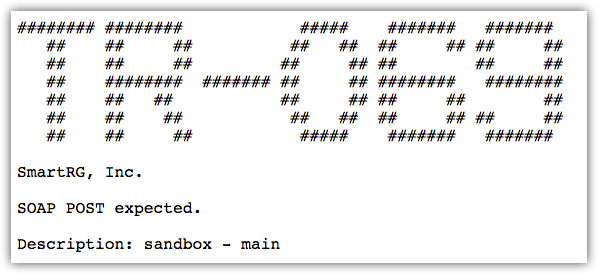
- Connect the device to a live internet connection. Test your connection by browsing to the management URL from a computer connected via the broadband you intend to use. A successful connection returns a message similar to the following:
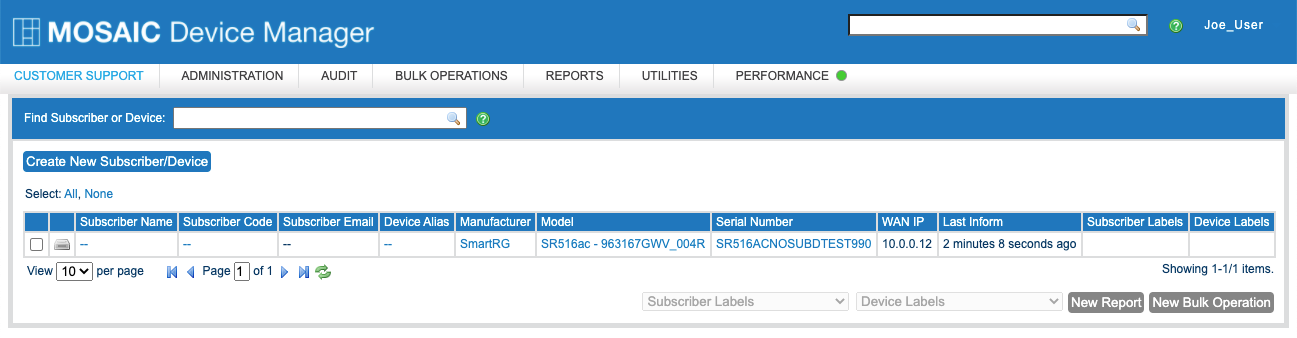
After your device completes its initial contact session with Device Manager (no longer than 1 to 2 minutes), the device is searchable in Device Manager. You will see the device’s manufacturer, model, and serial number listed on the Device Manager Customer Support page, as in the following example for a model SR516ac:
-
Log into Device Manager using the instructions you acquired in Step 1.

- From the landing page, enter the serial number of your device in the Search field; then, select the device from the search results. If you select a device in Device Manager for which no device class configuration exists, you receive the following message:
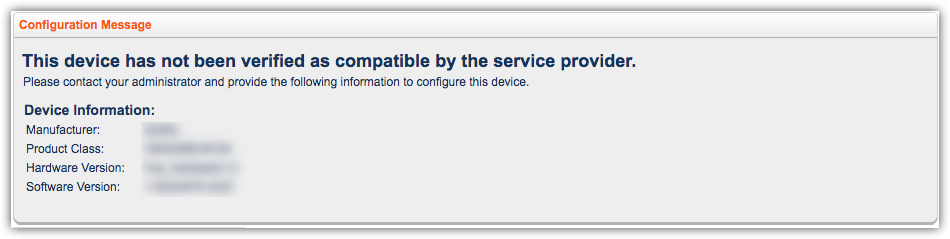
This message indicates that Device Manager has no drivers loaded to support the device. This is expected behavior.
Testing Your Device
- From the left navigation sidebar, expand the Expert menu and select Driver Mapping.
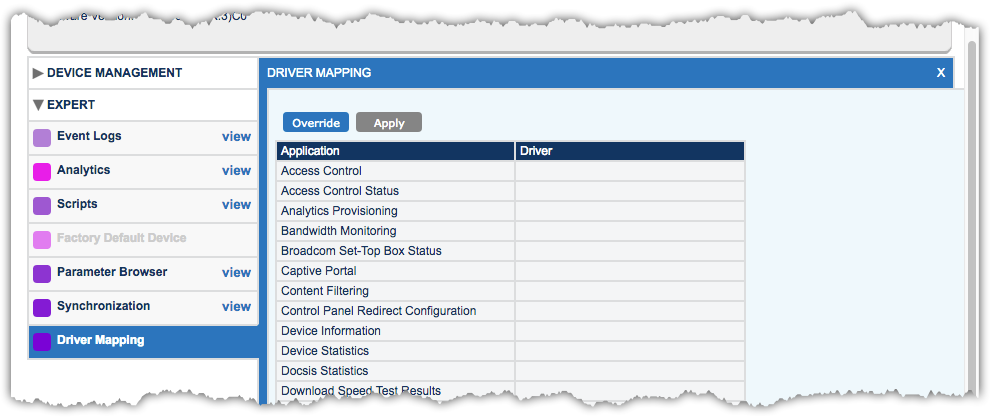
The central pane of the screen contains a simple table. The left column lists the applications supported by this instance of Device Manager. The right column lists the drivers that are mapped to the applications. Upon first use, no mappings are created, and the right column is blank. Subsequent visits to the Device Driver Mapping tool display remnants of the driver selections made in previous sessions. Use the Clear All Selected Drivers function to the right of the Driver column to begin subsequent sessions with a clean slate.
- Select the Override button.
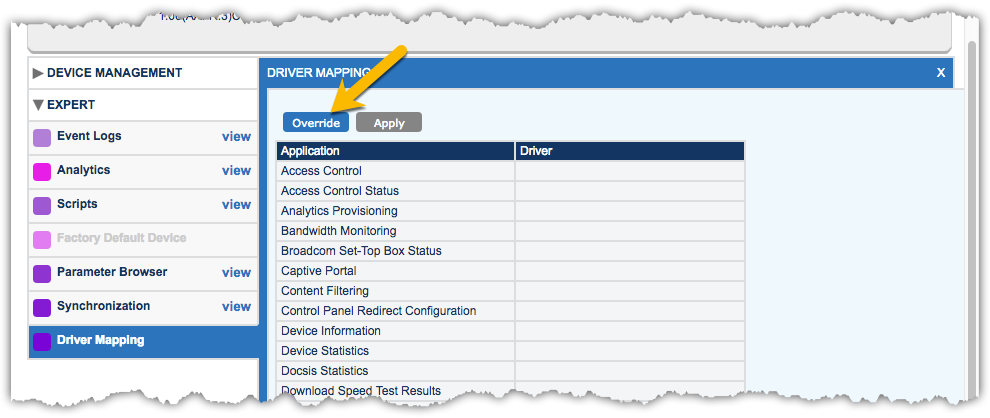
The Override button lets you select an available driver for each application that you want to test. It is not necessary to make a selection for every application. Select only the applications for which you want to achieve interoperability.
While legacy drivers are available for testing with many applications, do not use them for Device Manager 5.x and later platform interoperability. Legacy drivers are a last resort if the non-‐legacy drivers do not work.
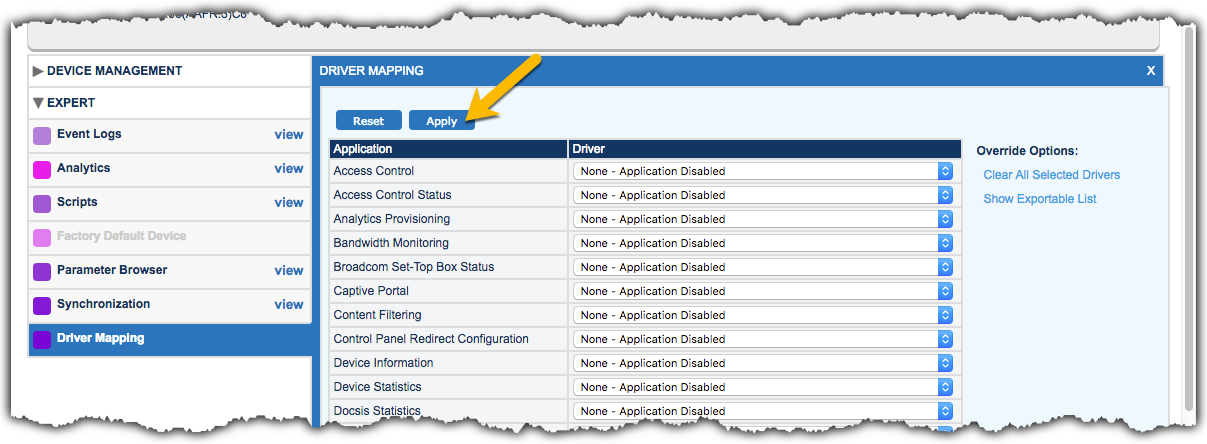
- After making your device driver selections, select the Apply button.
- When prompted, select Save.
After the save process completes, a yellow banner notifies you that the device now has a device class override. The banner prompts you to refresh the page for the new override settings to take effect.
The message “This device has not been verified as compatible by the service provider" is cleared because a device class override is in place.
In place of the message, standard navigation is available in the applications for which you selected drivers. For example, if you selected a driver for WiFi, that application is now available in the left navigation bar.
- You can now interact with the device via the Device Manager UI. For example, if you selected a driver for WiFi, you can set a channel, name the SSID, select a security type, and so on.
- Select Save and then confirm that the device is operating as expected. Note that the existing drivers you selected might not achieve full interoperability. Make a note of the specific behaviors and Event Log messages that are undesirable.
Due to application interdependency issues, there is a preferred order in which to test application/driver associations for new devices. The recommended sequence is:
- ManagementServer
- STUN (if applicable)
- ManagementServerStatus
- WANDevices
- WANInterfaces
- DeviceInfo
- DeviceStats
- Proceed with testing any additional applications as needed.
- If there are no apparent errors while interacting with an application, continue with methodical and thorough testing of that application. You'll want an exhaustive test plan to follow that exercises all functions of the application for which you are attempting to achieve interoperability.
- Once your test cases for an application pass successfully, repeat these steps as necessary for the remaining applications you require.
Communicating the Results to Adtran
Having tested the available drivers and confirmed which drivers provide optimal usability of the device, email the dynamic device class configuration to your Adtran Sales Engineer. Verify that there are no outstanding changes that have not been saved.
- The device class details appear when you select the Show Exportable List link to the right of the driver selection menus.
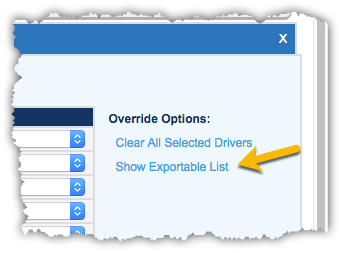
- A block of text appears. Select and copy all of this text. You might need to scroll down in the text box to capture all of the drivers listed.

- Email the following results to your Adtran Sales Engineer:
- If applicable, include in the subject line your invoice number relevant to interop engagement fees.
- The override list text as pictured in the preceding example.
- Your observations of specific functions that the standard drivers did not perform correctly.
Tips to Expedite Testing
Warning Against the Use of Legacy Drivers
Do not use legacy drivers when testing compatibility with a new device. Legacy drivers generally do not validate that a device is behaving as expected. On devices that legacy drivers do not support, there are many cases where they appear to work but silently fail without setting the application to an error state or raising any warning or error messages.
New Firmware for an Existing Device
In the case of a new firmware version for an existing device that previously worked with Device Manager, use the drivers mapped for a device running the old firmware as a starting point while testing the new firmware.
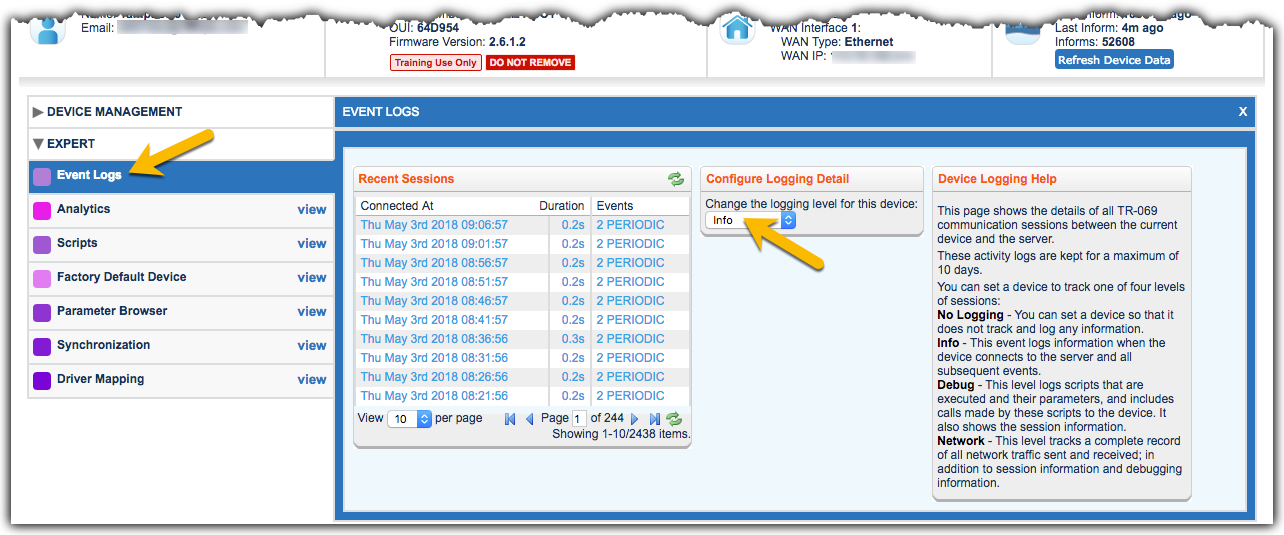
Increase the Logging Level
The Event Log provides valuable testing insight. The default logging level is set to Info. The Debug level is necessary to ensure that messages from the driver are seen; however, the Network level is recommended. At the Network level, the available SOAP messaging can be revealing when the device returns a fault response. Also revealed are the specific parameters that might be responsible for the error.
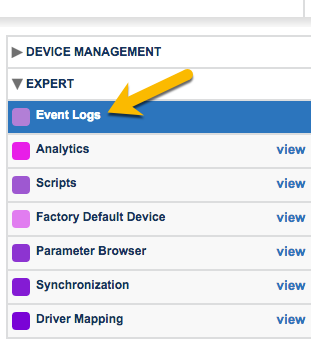
- From the left navigation sidebar, expand the Expert menu and select Event Logs.
- Under the Configure Logging Detail heading, select the required logging level.
- When testing is complete, return the logging level to Info.